
 A perfectly spiced, chewy gingerbread cookie that stays soft for days and fills your kitchen with the smell of the holidays.

Decorating with Royal Icing: Wet-on-Wet Techniques for Gorgeous Cookies
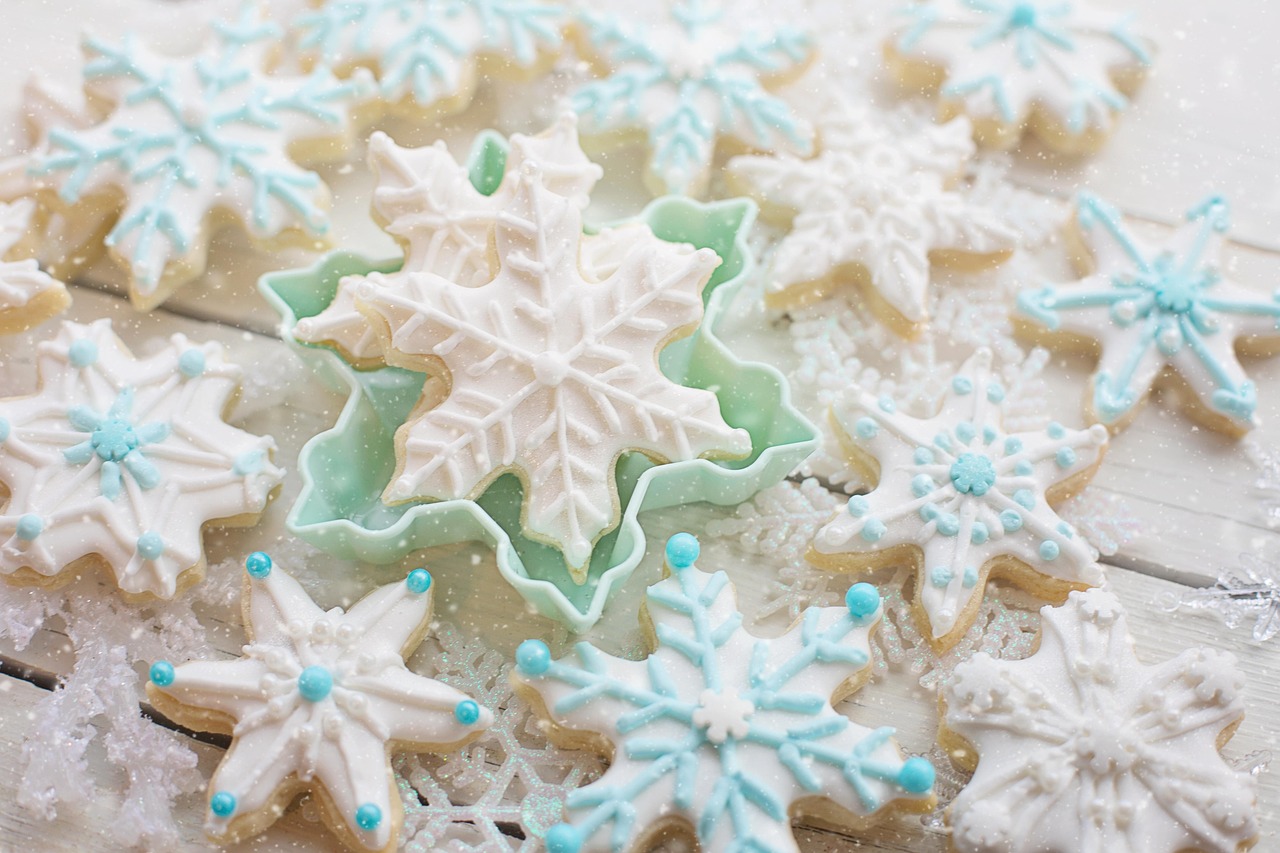
If you've ever admired cookies with smooth, swirling patterns or delicate hearts that seem to float on the surface, you've seen wet-on-wet royal icing in action. This technique is one of the most rewarding skills in a cookie decorator's toolkit, and it's easier than it looks. The idea is simple: while your flooded icing is still wet, you add dots, lines, or drops of a different color and drag a toothpick through them to create patterns. The result is a professional-looking cookie with very little precision required.
Setting Up Your Icing and Tools for Success
Before you begin, you'll need flood-consistency royal icing in two or more colors. The base color should be thin enough to spread smoothly, and the accent colors can be the same consistency or slightly thicker. Fill squeeze bottles or piping bags with each color. Work on one cookie at a time, because the technique depends on the icing being wet. Have toothpicks, a damp cloth, and a tray nearby. A turntable isn't necessary, but it can make rotating the cookie easier as you work.
Start by flooding the cookie with your base color. Use a toothpick to spread it to the edges and tap the tray gently to settle the icing. Don't let it sit too long; you want the surface to be glossy and liquid. If a crust forms, the accent colors won't blend. Once the base is flooded, immediately pipe dots, stripes, or swirls of your accent color onto the wet surface. Space them evenly for a clean look, or place them randomly for a more organic feel.
Creating Marble, Heart, and Polka-Dot Designs
For a marbled effect, pipe a few thin lines of a contrasting color across the wet base, then drag a toothpick through them in one continuous motion, alternating directions. For hearts, pipe a small dot of accent icing, then drag a toothpick through the center of the dot downward to create the point. Polka dots are the simplest: just pipe small dots and leave them alone. They'll settle into the base and create a smooth, embedded look. If you want a feathered design, pipe parallel lines and drag a toothpick perpendicular to them.
Practice on a few cookies before you commit to a whole batch, and don't worry if the first ones look a little wobbly. The beauty of wet-on-wet is its organic, handmade quality. Once the designs are complete, let the cookies dry uncovered for several hours or overnight until the icing is firm to the touch. Store them in a single layer to protect the surface. With a little experimentation, you'll develop a signature look that makes your holiday cookie platters truly stand out.