
 Bring holiday spice to your breakfast table with crispy, fluffy gingerbread waffles.

How to Build a Gingerbread House That Actually Stays Standing
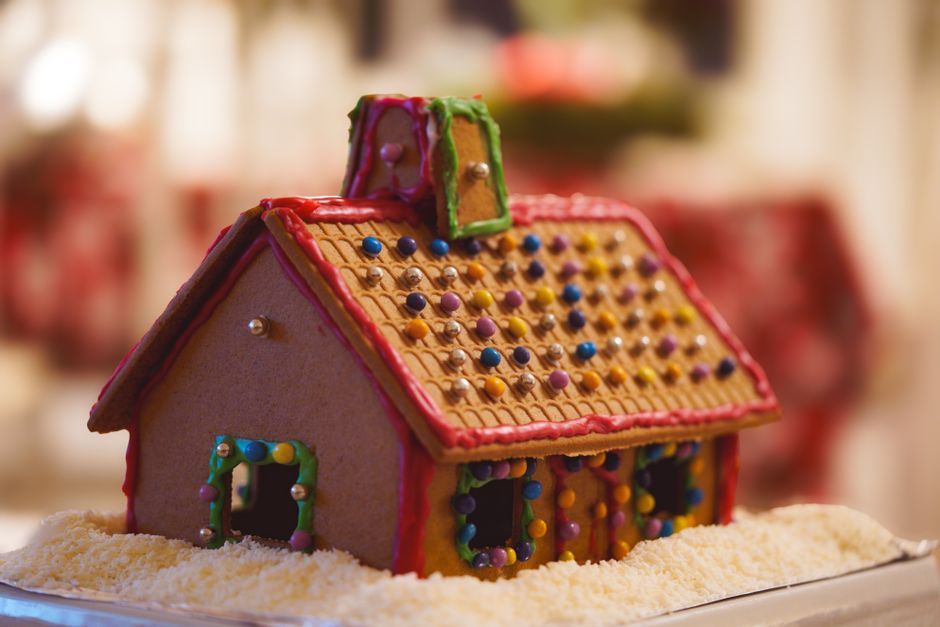
Every December, ambitious bakers everywhere roll up their sleeves and attempt the classic gingerbread house, only to watch a wall slide sideways an hour later. I have been there, and I have learned that a sturdy house has less to do with artistic talent and more to do with a few practical choices. The good news is that once you understand the basics of construction, decorating becomes the fun part instead of a race against gravity. This guide walks you through the whole process, from baking sturdy panels to assembling a house your family will want to keep on display.
It all starts with the dough. A gingerbread house needs a firm, low-moisture dough that bakes up hard and flat, not the soft cookie dough you would eat on its own. Look for a recipe with plenty of flour and a shorter baking time that dries the panels out rather than browning them. Roll the dough evenly to about a quarter inch thick, and use a paper template to cut your walls and roof so every piece matches. Any uneven edges will make assembly harder later, so take your time with the cutting.
The Royal Icing That Holds Everything Together
Royal icing is the cement of the gingerbread world, and getting the consistency right makes all the difference. You want it thick enough to hold a peak but fluid enough to pipe smoothly. Beat egg whites or meringue powder with powdered sugar until the icing forms stiff peaks, then adjust with a few drops of water or extra sugar as needed. For structural seams, keep it on the thicker side. For decorative flooding and details, thin it down slightly so it spreads neatly.
Let your baked panels cool completely and dry out for a few hours, or even overnight, before you build. Moisture is the enemy of a standing house. When you are ready to assemble, pipe a thick line of icing along the bottom edge of a wall and press it onto your base, holding it in place for a full minute before moving on. A helpful trick is to use small drinking glasses or cans as temporary supports while the icing sets. Build the four walls first, let them firm up, and only then add the roof. Patience at this stage saves you from a collapsed roof later.
Decorating Without the Meltdown
Once the structure is solid, decorating becomes pure joy. Pipe icing along the roof edges to look like snow, press on gumdrops, peppermints, and sprinkles while the icing is still tacky, and use a piping bag for window frames and doors. Pretzel sticks make wonderful fences, and a dusting of powdered sugar at the end gives the whole scene a fresh snowfall look. If you want to light it from within, place a small battery-operated tea light inside rather than a real candle.
Display your finished house on a cake board or sturdy platter, and keep it away from heat and humidity so the icing stays firm. With a little planning and the right icing, your gingerbread house can be the centerpiece of your holiday table, and maybe even a tradition your family looks forward to building together each year.